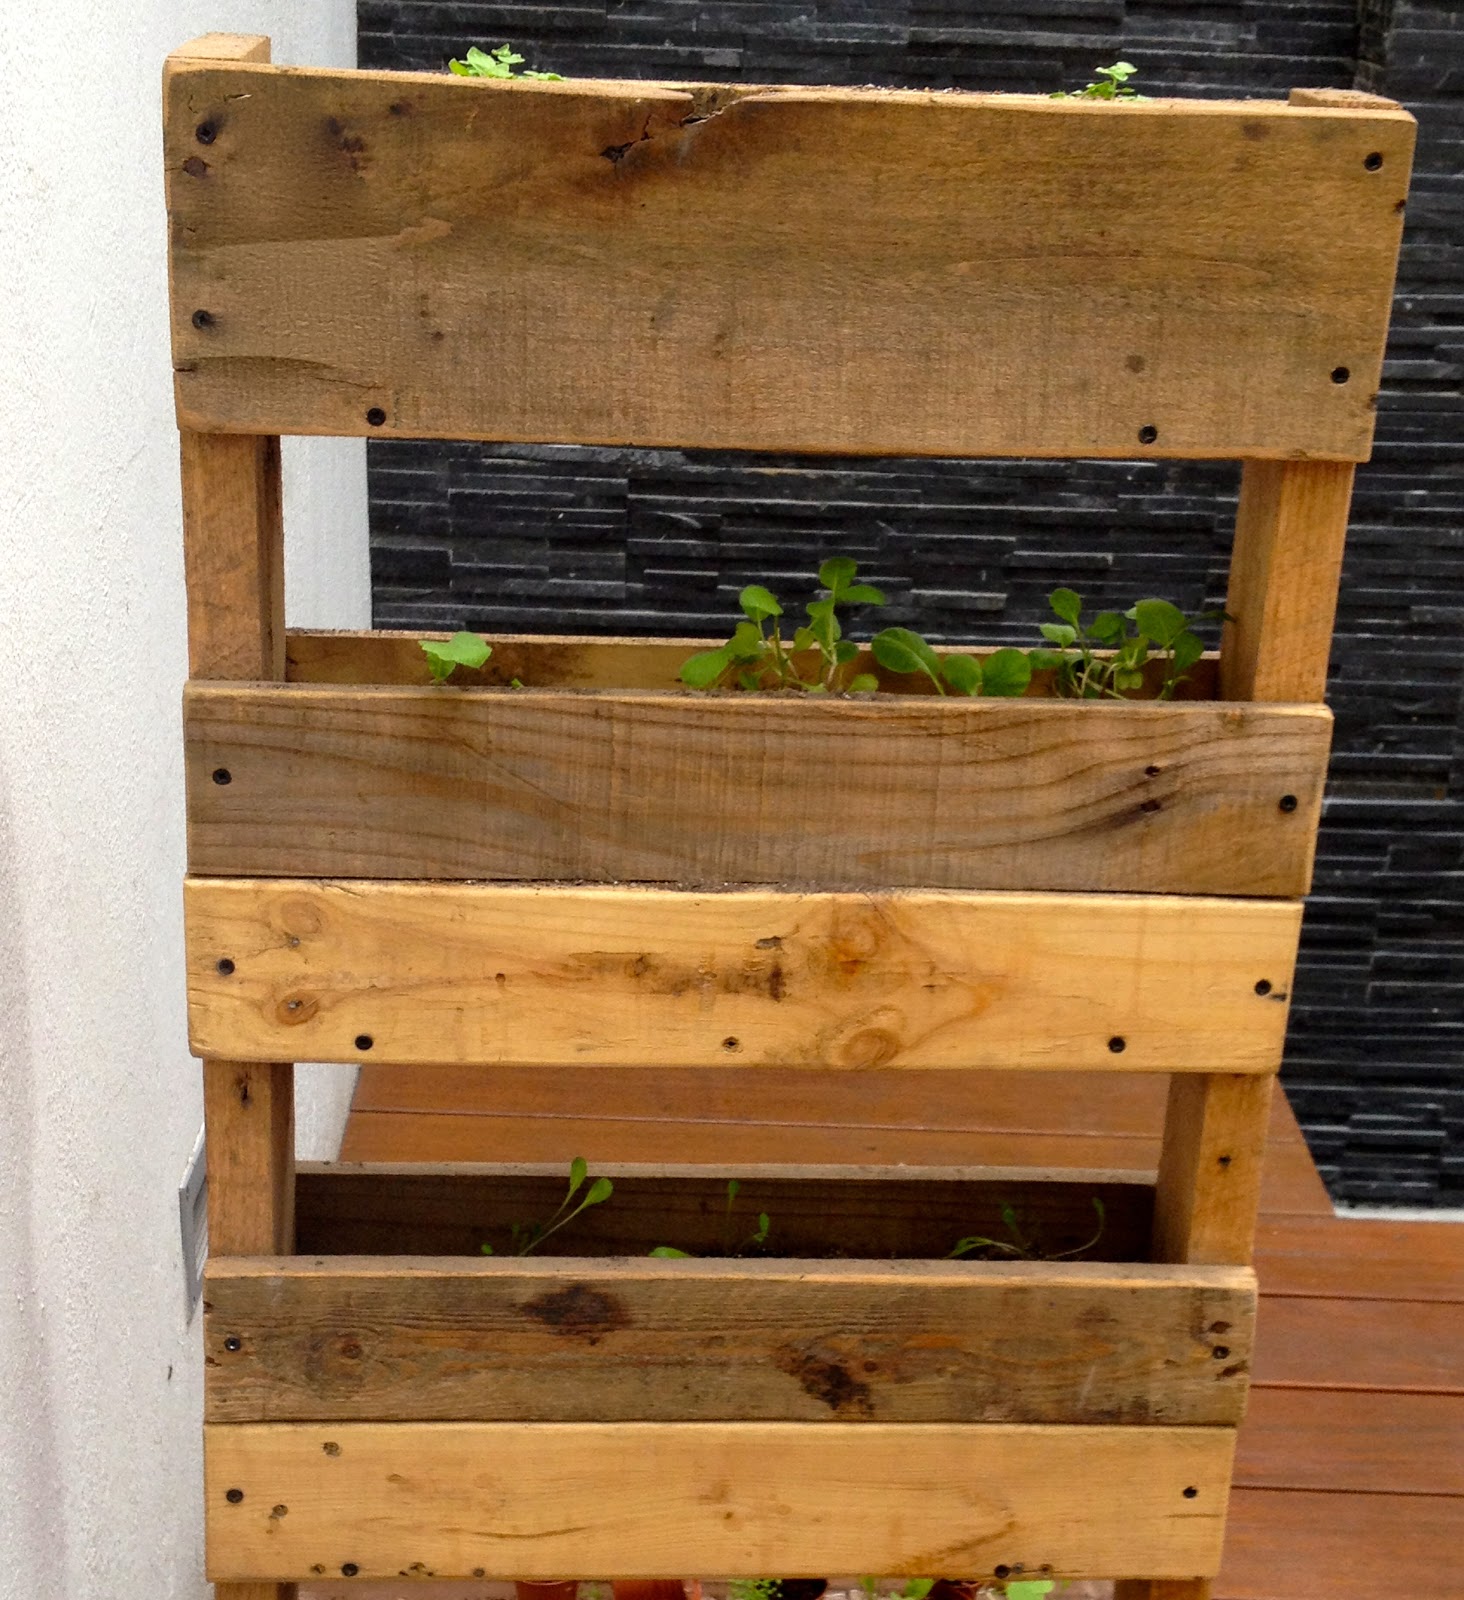
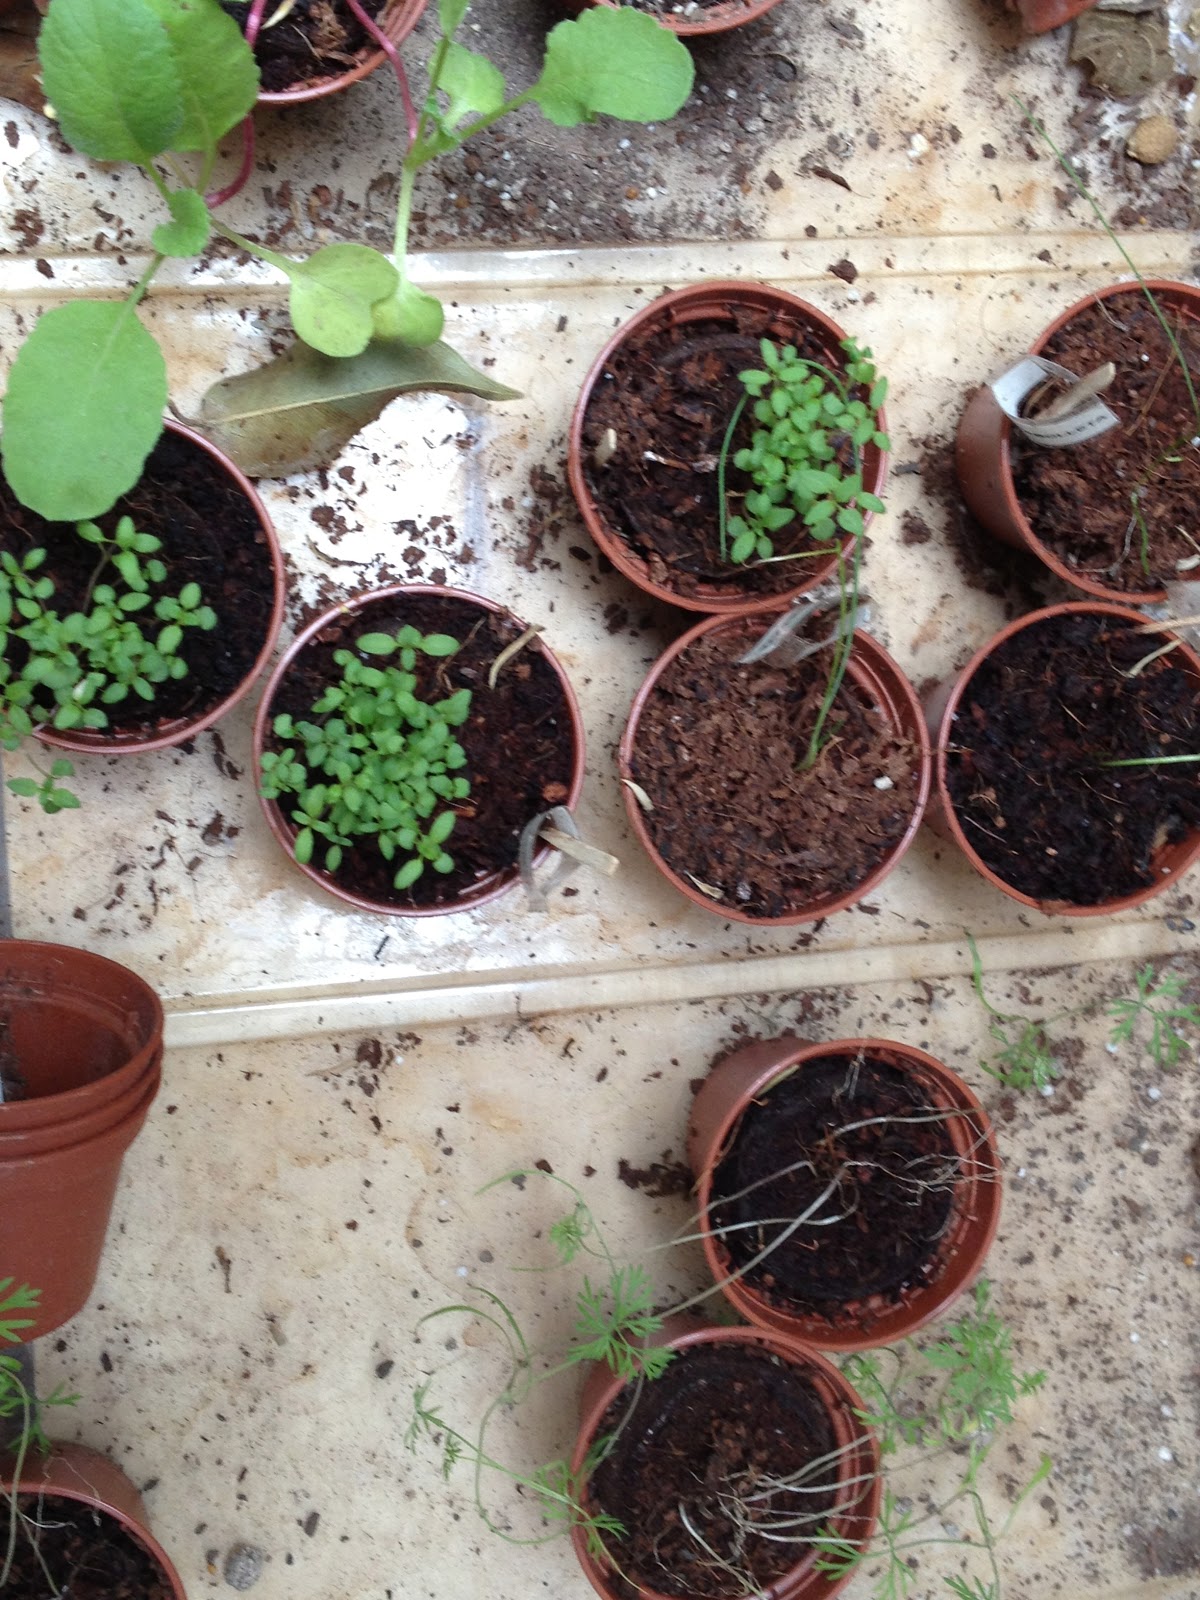
Now that the plants are in the mobile garden, we must keep taking care of them. We have to add more soil, water them, make sure they get enough sunlight and check for any bugs or plagues. They are growing and changing evry day.
We are a group of students from Centro Escolar Los Altos in Guadalajara Mexico. We will be posting about an organic garden project that we are going to be working on during the next few months. In this blog we will constantly update our progress from the beggining to the very end.
Saturday, March 16, 2013
Tuesday, March 5, 2013
Friday, March 1, 2013
STEP VII
Now that we have added the wheels to the garden, we can proceed with the next step. This step consists on planting the germinated plants in the actual mobile garden. Some of them are not quite ready to be transplanted, however we will plant the ones that are sufficiently grown. Check out the pictures below!
One of our readers asked about the germination process. I can say the process we chose is pretty effective due to the good results that we achieved. This process consists on germinating the seeds on mini pots that are placed in a water tray (you can look at some pictures in our first post). The mini pots contain each a dehydrated peat moss tablet, that is hydrated at the moment of the planting. More details on what we did HERE.
PICTURES
Garden with Wheels
SOIL
GORGEOUS LITTLE PLANTS
FIRST ONE TO BE PLANTED
TAKE A LOOK AT THOSE ROOTS...PERFECTION
THAT'S QUITE A GARDEN!
These plants are not ready for the mobile garden...yet. PATIENCE, PATIENCE, PATIENCE!!
Subscribe to:
Posts (Atom)


